GeoHumTutorials
This repository contains beginners' tutorials on geocoding & mapping (historical) spatial data. Most tutorials were created for teaching & academic workshops hosted by DigiKAR (Mainz), the DFG Island Studies Network (Tuebingen), and The Plant (Maastricht).
Geocoding with the Geonames API in Python
Working with Google Colab
This tutorial combines actual executable code with explanations in a Google Colab notebook. The advantage of
Getting a geocoding API key
Geocoding data via script requires a so-called API key from a geocoding service. API stands for "application programming interface". It is essentially a web "gateway" that you can use to access data or services. Each user ideally has their own unique API key. APIs come with legal obligations and, in many cases, request limits. That means that each API holder can only perform a fixed amount of queries per day to guarantee good performance for all users and to hinder illegal activities. In my scripts shared here, the API key has to be added where you now see a string of hashtags ("#####").
In this tutorial, we are using the Geonames API. So, please, sign up for your personal key on the Geonames website first. You will receive an activation link via link. Please make sure to tick the box for activating the web service. Your API key is (as of April 2023) identical with your user name.

GeoNames as a geodata service is mainly using REST APIs and offers 40 different webservices. Geocoder for Python, which is used in the code shared here, supports the following:
- (geocoding) retrieve GeoNames’s geocoded data from a query string, and various filters
- (details) retrieve all geonames data for a given geonames_id
- (children) retrieve the hierarchy of a given geonames_id
- (hierarchy) retrieve all children for a given geonames_id
For the full Geocoder documentation, please visit: Geocoder Read the Docs.
Geocoding data and plotting a static map
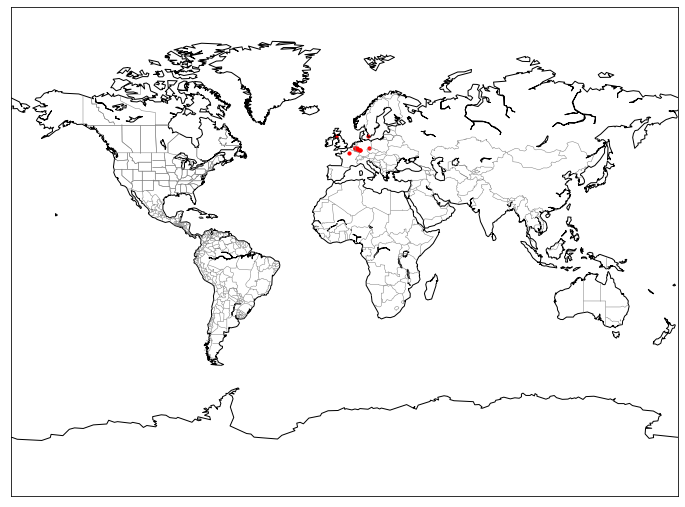
My first script making use of Python Geocoder and the Geonames API geocodes placenames from a table and plots a static map. This Python code is provided in Jupyter Notebook format with in-line comments for execution in Google Colab (also check the Colab Geocoding directory for more examples). Running this code should first show you the content of the input file, which only has a single column of twelve place names in my own sample. Then the code should geocode your address column with Geonames, add the Geonames ids and official Geonames place descriptions, and append all the new information to the existing table. In the last step, all places which could be geocoded will be plotted as small dots on a simple world map:

Geocoding data and plotting an interactive map
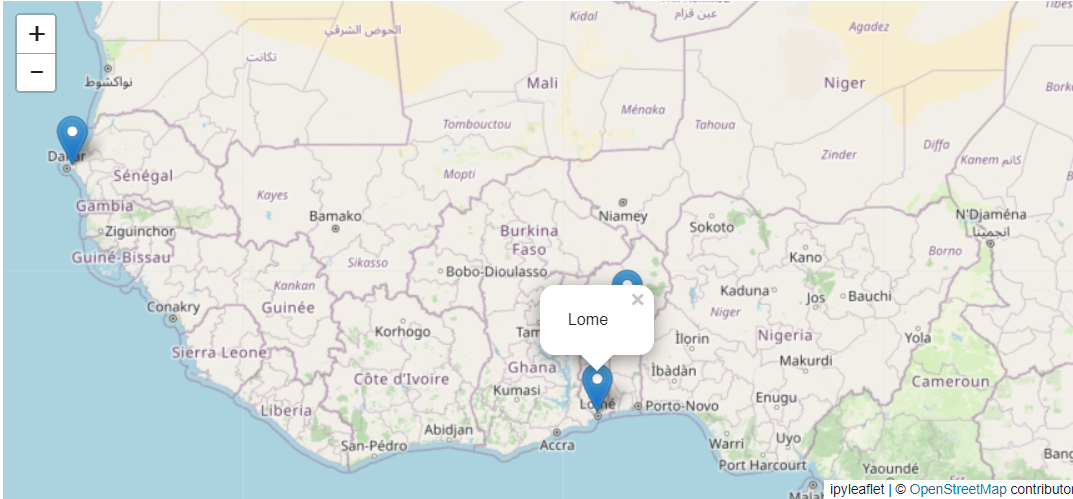
As static maps aren't the ideal display to check the geocoding
of individual point geometries (e.g. cities), I have provided another script that plots the geocoded data to an interactive map with labels. This map is generated with the

Geocoding data from more than one column (e.g. "address" & "continent")
In some cases, it may be necessary to refine your address information, e.g. by adding a country or continent in an additional column. That may especially be the case of places of the same name exist more than once. A frequent challenge are the "colonial twins" that many European cities have in America, in Asia or in Oceania. For geocoding data from more than one column, please use my script for flexible geocoding. In addition to a line of code that merges spatial information from two different columns, it also performs an initial check if data in your table have already been geocoded with Geonames.
Consecutive geocoding to respect the hourly API limit of 1000 queries
A script that checks if data already have a Geonames ID and coordinates in your table can be very helpful when geocoding longer tables with more than 1000 rows. To geocode such an amount of data, you either need to sign up for a paid Geonames account or geocode your data consecutively over time as the hourly limit of requests is 1000.
Generating a GeoJSON file for working with GIS tools
Both Geonames geocoding scripts shared here also generate a GeoJSON file from your input data. Geoinformation in this standardised format can be analysed and visualised in a wide range of GIS software, including QGIS. If you want to learn how to create and print simple maps in QGIS, please check out my QGIS tutorial for beginners. While it is possible to directly geocode data with GIS software, capturing additional information such as Geonames (and Wikidata) IDs, normalised place names, modern postal codes or place types can be important for making data interoperable and reusable. Working with spatial APIs via Python offers many opportunities for enriching the collected data.
Step-by-step guide for running the code
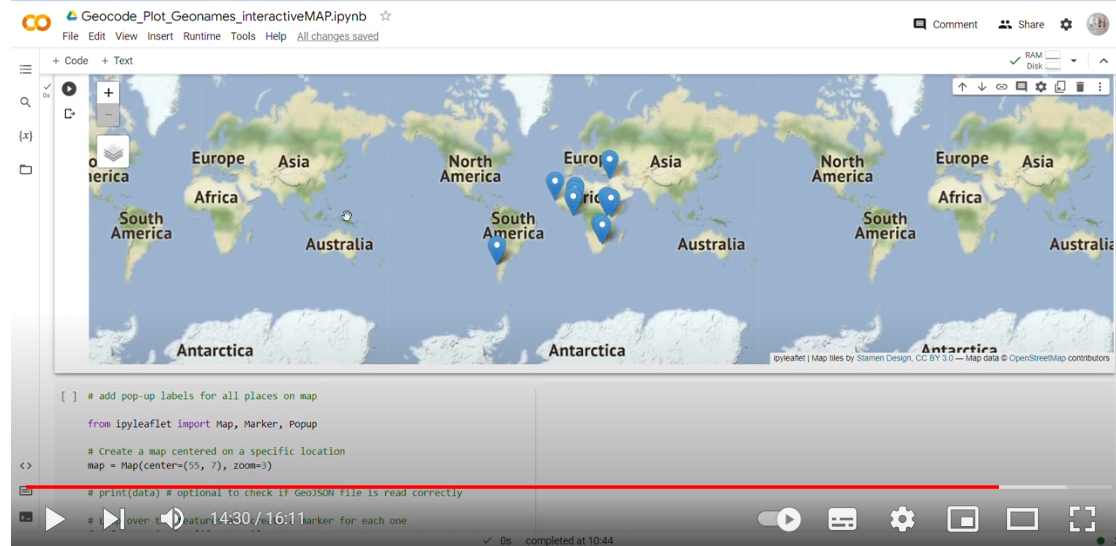
If you have never run code in Colab before, you might want to follow the step-by-step guide in my YouTube video. This video shows the script for geocoding with Geonames to create an interactive map with labels. The basic steps are the same for all scripts using the Geonames API.